Harcha - A Moroccan Semolina Biscuit Recipe
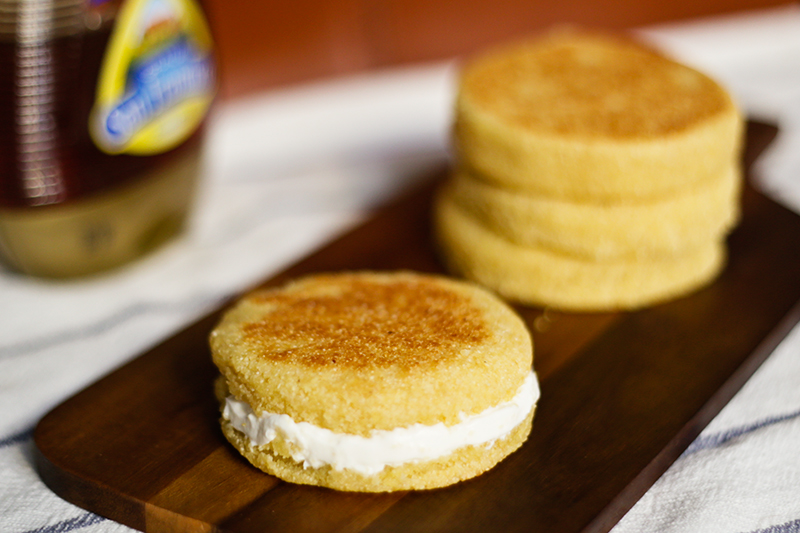
Harcha are simple Moroccan semolina biscuits enjoyed for breakfast, as a snack on their own or, even better, alongside a freshly brewed cup of mint tea. Ingredients vary sightly from recipe to recipe as do the size of the harcha, ranging from small individual biscuits to a large cake shared among many. Traditionally, the recipe for harcha called for olive or vegetable oil, and while some people still make them that way, most have replaced the oil with butter, making harcha a particularly decadent treat. Harcha can be served in a variety of ways, with both sweet and savory fillings, but our personal favorites are filled with fresh cheese or drizzled with a syrup made from a mixture of melted butter and honey.
Ingredients
- 2 cups fine semolina
- 2 tbsp sugar
- 1 tsp baking powder
- ½ tsp salt
- ½ cup melted butter
- ½ cup milk
- a bit of extra semolina for sprinkling on your work surface
Instructions
- In a mixing bowl, combine the semolina, sugar, baking powder and salt.
- Mix in the butter with a wooden spoon until the mixture gets a sort of sandy texture, the semolina has absorbed the butter and is uniformly moistened. If you find it to difficult to combine with a spoon, feel free to use your hands.
- Add the milk, stirring well to get a smooth dough and then form it into a large mound.
- Let the dough rest for about 5 minutes to absorb the milk. If you find the dough to be excessively dry or crumbly, add a bit more milk at this point, just enough so that it holds together.
- Heat a non-stick pan over medium.
- While the pan is heating, sprinkle a bit of semolina over a large piece of parchment paper and press the dough with your hands into a flat sheet just over ¼" thick.
- Cut out the biscuits using a large glass or cookie cutter, aprox. 3" in diameter. If you have a round cookie cutter in that size, you can press the dough into the cookie cutter from the top to form each harcha rather than cutting them from a sheet of dough.
- Once the harcha are formed, gently set them in the pan and cook for 5 minutes on each side. After 5 minutes, the surface of the cooked side should be golden. If it is not, you need to turn the heat up a bit, and if it's getting golden much before the 5 minute mark, you should turn the heat down. This will be different for every stovetop, so it's not unusual that the first harcha that you ever make doesn't turn out perfectly.
- Let the harcha cool and cut them in half with a sharp knife as soon as they are cool enough to handle.
- Serve warm with your choice of honey, butter, jam, cheese or a combination of fillings.
Notes
This recipe is rated moderate only because the dough can tend to crack and be a little difficult to work with. This is why we reccomend cutting out your harcha, but you can also form them by rolling and flattening balls of the dough. Although we think harcha are best when freshly made, they can be stored frozen and reheated in an oven at 350F for a few minutes. If you don't finish your harcha in one day (and we challenge you not to!), they store well in a ziplock bag for about a week.